Are you looking to transfer USDT from Binance to Bybit swiftly and securely? Moving your Tether (USDT) between these leading cryptocurrency exchanges is a common task for many crypto enthusiasts, whether for trading, staking, or exploring new opportunities. This guide will walk you through the essential steps, ensuring a smooth and confident transfer process, while keeping your funds safe.
Why Transfer USDT from Binance to Bybit?
You might wonder why users frequently transfer USDT from Binance to Bybit. There are several compelling reasons:
- You found lower trading fees or better trading options on Bybit.
- Bybit has a new token launch or staking opportunity.
- You’re using Binance to buy USDT and Bybit to trade futures or derivatives. Similarly, some users might need to transfer USDT from Crypto.com to Binance for different trading needs.
Whatever the reason, moving USDT between these two platforms is quite simple if you follow these steps carefully.
Key Considerations Before You Transfer
Before you initiate your transfer, keep a few critical points in mind will ensure a seamless experience:
Network (Blockchain) Selection: This is the most crucial step. USDT exists on multiple blockchains (e.g., TRC20 for TRON, ERC20 for Ethereum, BEP20 for BNB Smart Chain). You MUST select the same network on both Binance (withdrawal) and Bybit (deposit). Mismatching networks will likely result in permanent loss of funds. TRC20 (TRON network) is often recommended for its lower fees and faster transaction times.
Minimum/Maximum Limits: Be aware of any minimum deposit requirements on Bybit and maximum withdrawal limits on Binance.
Fees: Both exchanges will charge a small network fee for the withdrawal. These fees vary by network and can fluctuate based on network congestion.
Security: Always use 2-Factor Authentication (2FA) on both exchanges. Double-check addresses meticulously.
How to Transfer USDT from Binance to Bybit
The process of how to transfer USDT from Binance to Bybit is straightforward when you follow these steps carefully.
Step 1: Obtain Your USDT Deposit Address from Bybit
Your first stop is your Bybit account to get the address where your USDT will be sent.
1. Log in to Bybit: Access your Bybit account via the website or mobile app.
2. Navigate to Assets: Go to your “Assets” section, then select “Spot Account” or “Unified Trading Account.”
3. Find USDT and Deposit: In your asset list, locate “USDT” (Tether). Click on the “Deposit” option next to it.

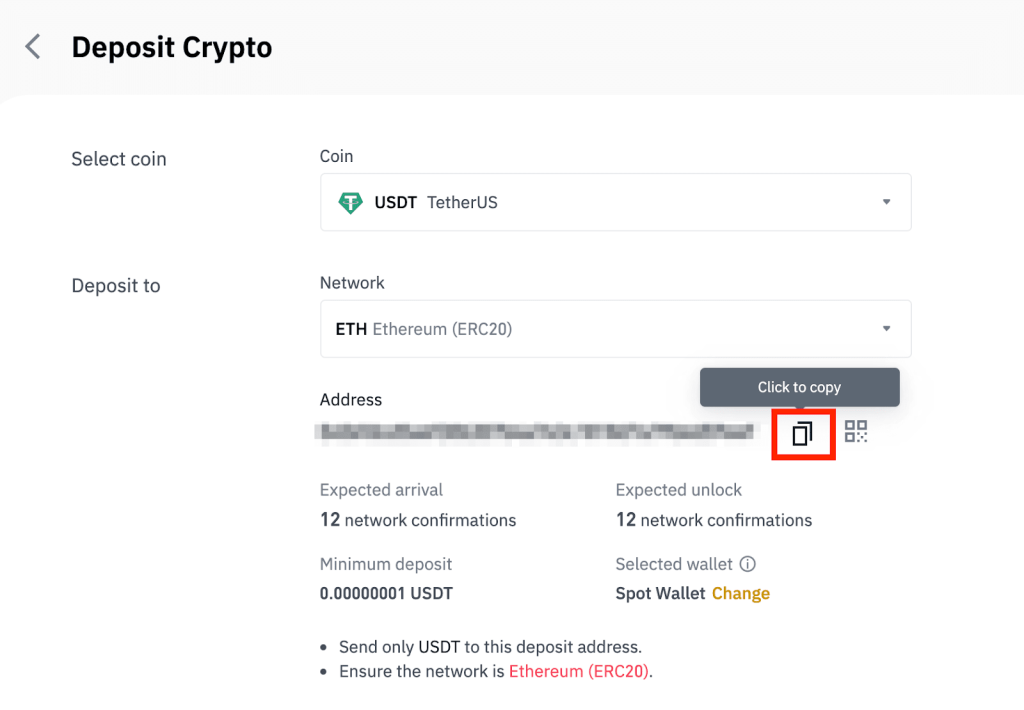
4. Select the Network: This is vital. From the dropdown menu, choose the blockchain network you intend to use. For example, select “TRC20” if you’re aiming for faster and cheaper transfers.
5. Copy Deposit Address: Bybit will display a unique deposit address (a string of characters, usually starting with ‘T’ for TRC20). You’ll also see a QR code. Copy this address accurately. Make sure to read any “Important Notes” Bybit provides on this page regarding minimum deposits or specific network requirements.
Step 2: Initiate the USDT Withdrawal from Binance
Now, head over to your Binance account to send your USDT.
1. Log in to Binance: Access your Binance account.
2. Go to Wallet: Navigate to “Wallet” and then “Fiat and Spot” (or “Spot Wallet”).
3. Find USDT and Withdraw: Locate “USDT” in your asset list and click the “Withdraw” button
4. Paste Address and Select Network:
- Paste the Bybit USDT deposit address you copied in Step 1 into the “Address” field.
- Crucially, select the EXACT SAME NETWORK you chose on Bybit (e.g., “TRX Tron (TRC20)”). Binance will usually warn you if the network doesn’t match the address format.
5. Enter Amount: Input the amount of USDT you wish to withdraw. Pay attention to the network fee displayed – this amount will be deducted from your withdrawal.
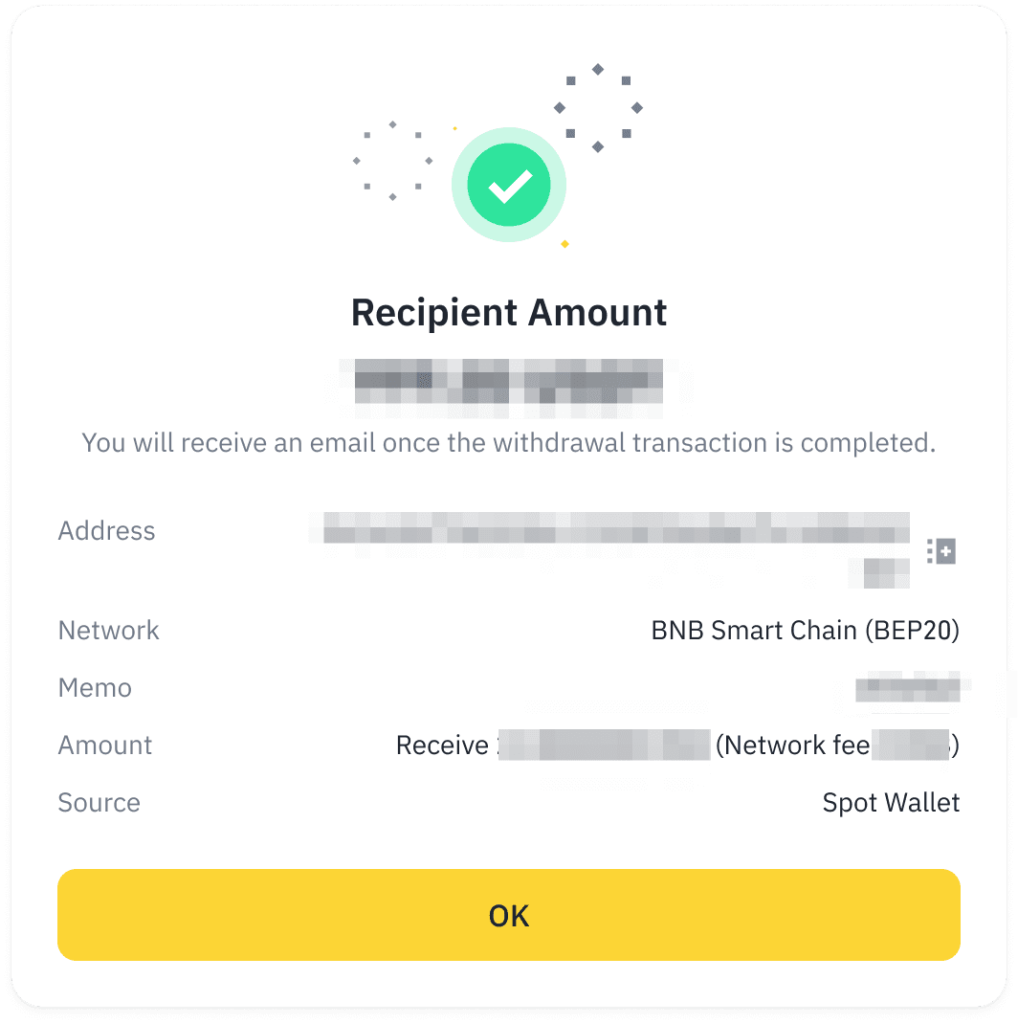
6. Confirm Withdrawal: Review all details (address, amount, network, fee) one last time. If everything is correct, click “Withdraw.” You will likely need to complete security verifications (e.g., email code, 2FA code) to authorize the transaction.
Pro Tip: For your first transfer, consider sending a small test amount (e.g., 10-20 USDT) to ensure everything works correctly before moving a larger sum. This can save you from potential headaches.
Step 3: Verify Your USDT Deposit on Bybit
After initiating the withdrawal, it’s time to check your Bybit account.
1. Check Bybit Account: Return to your Bybit “Spot Account” or “Unified Trading Account.”
2. Transaction History: Look for your recent deposit history. The USDT should appear after a few network confirmations. For TRC20, this typically takes less than a minute.
3. Confirm Balance: Once confirmed, your USDT balance will be updated and ready for use on Bybit. You can also use a blockchain explorer (like Tronscan for TRC20) with your transaction ID (TxID) from Binance to track its status on the blockchain.
FAQs About Transfer USDT from Binance to Bybit
How long does it take to transfer USDT from Binance to Bybit?
Usually under 5 minutes using TRC20. Delays may happen during network congestion.
Is TRC20 the best network to use?
Yes. It’s faster and cheaper than ERC20 or BEP20 for USDT transfers.
What if I select the wrong network?
Your funds could be lost permanently. Always select TRC20 on both platforms if that’s what Bybit supports.
Can I cancel a withdrawal from Binance after submitting it?
No. Once submitted and broadcast to the blockchain, it can’t be reversed.
Final Thoughts on Transfer Tether (USDT)
Mastering how to transfer USDT from Binance to Bybit is a valuable skill for any crypto trader or investor. By carefully following the steps, paying close attention to network selection, and prioritizing security, you can ensure your funds move safely and efficiently between platforms, empowering you to make the most of your crypto journey. Safe transfers!
Need help with transferring crypto or understanding blockchain basics? Contact us for instant help — we’re here to guide you through it all.